A Northstar workspace is where your organisation's projects, people, and settings live.
Most organisations only need one workspace.
Before you start
You'll need:
A Northstar account
Your organisation or team name
Permission to create a workspace for your organisation
Creating the workspace automatically makes you a Workspace Admin.
Create a workspace
Sign in to Northstar.
Select Create workspace.
Enter a name for your workspace.
Choose your workspace URL.
Select Create workspace.
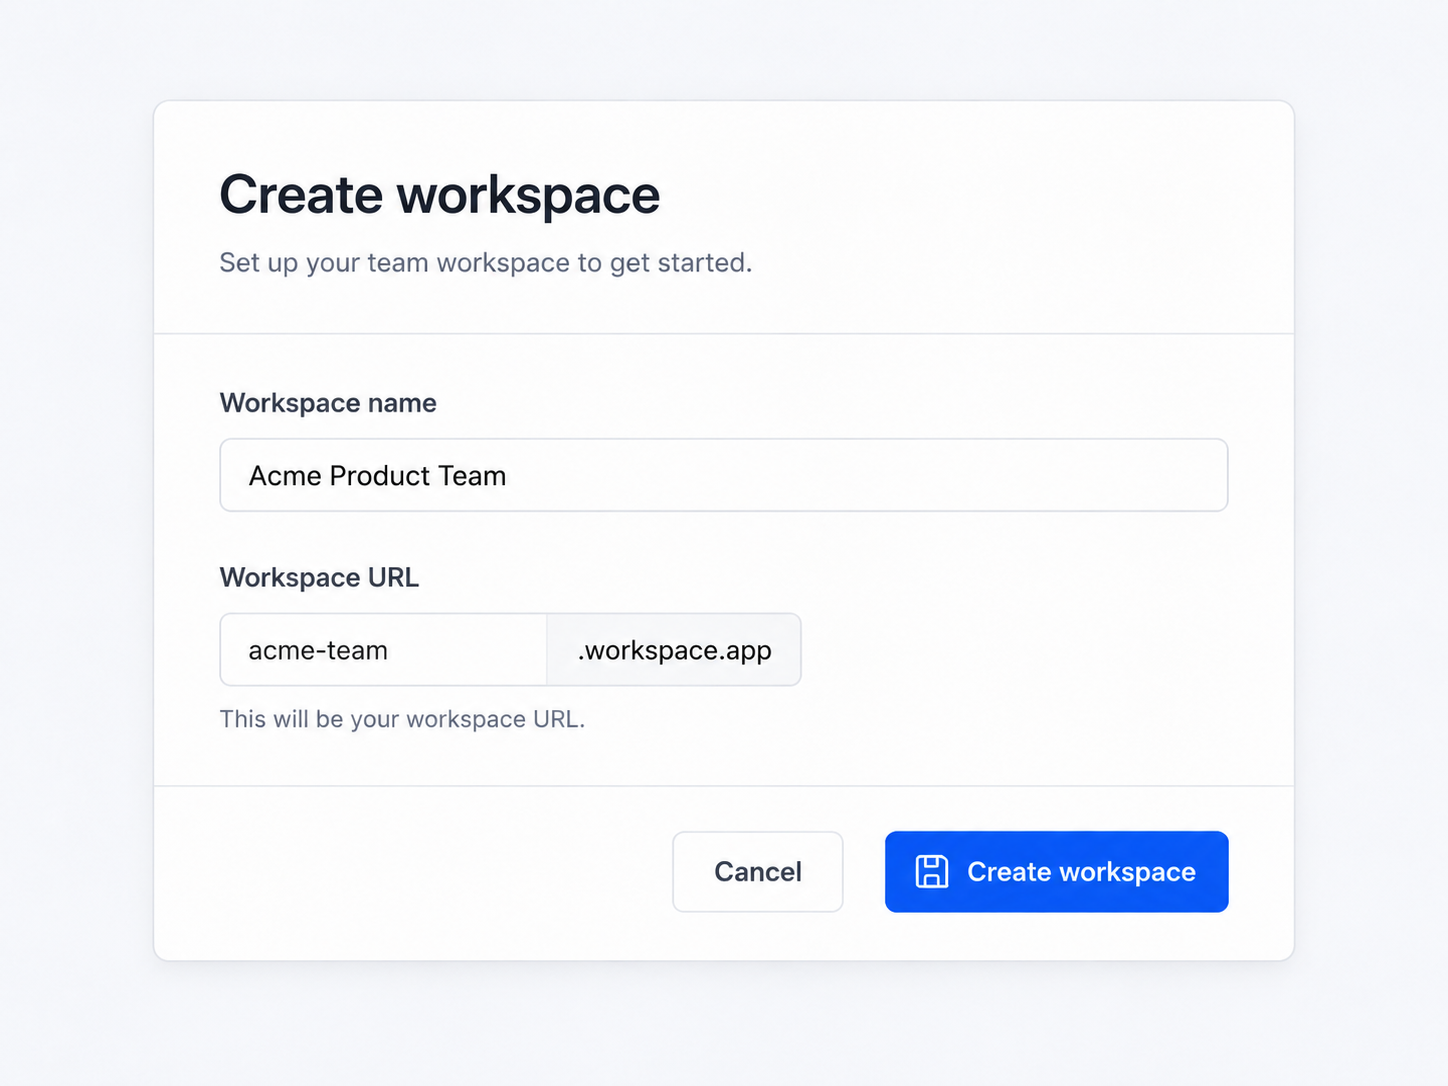
For example:
Setting | Example |
|---|---|
Workspace name | Acme Product Team |
Workspace URL | acme-product |
Northstar address | northstar.example/acme-product |
Choose your workspace name
Your workspace name should normally match your organisation, business unit, or team.
Good examples include:
Acme
Acme Product
North America Operations
Digital Services
Avoid names that are tied to a single temporary project.
You can change your workspace name later without affecting your projects.
Configure your workspace
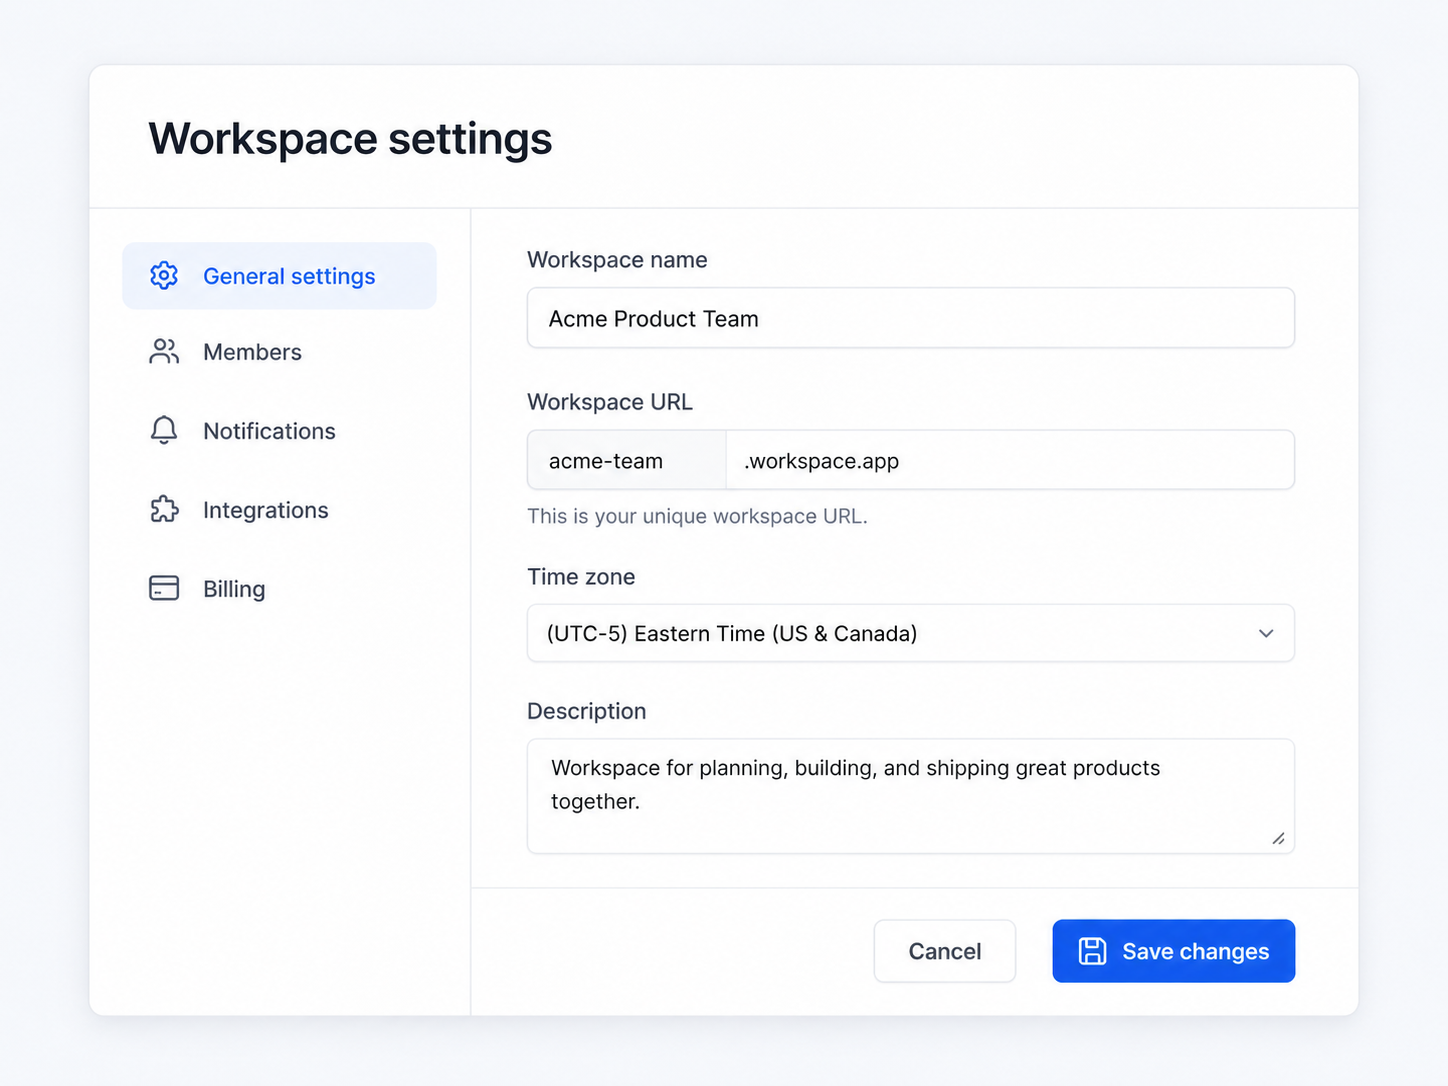
After creating your workspace, open:
Settings → Workspace
From here you can configure:
Workspace name
Logo
Default timezone
Date format
Default project settings
Add your organisation logo
To add a logo:
Open Settings.
Select Workspace.
Select Change logo.
Upload a PNG, JPG, or SVG file.
Select Save.
For best results, use a square image of at least 256 × 256 pixels.
Next steps
Once your workspace is ready:
Invite your team.
Create your first project.
Connect Slack if your team uses it.
You don't need to configure every workspace setting before you begin. Most teams start with the defaults and adjust them later.