Projects help teams coordinate work around a shared outcome.
This guide covers how to create, organise, update, and complete projects in Northstar.
Project structure
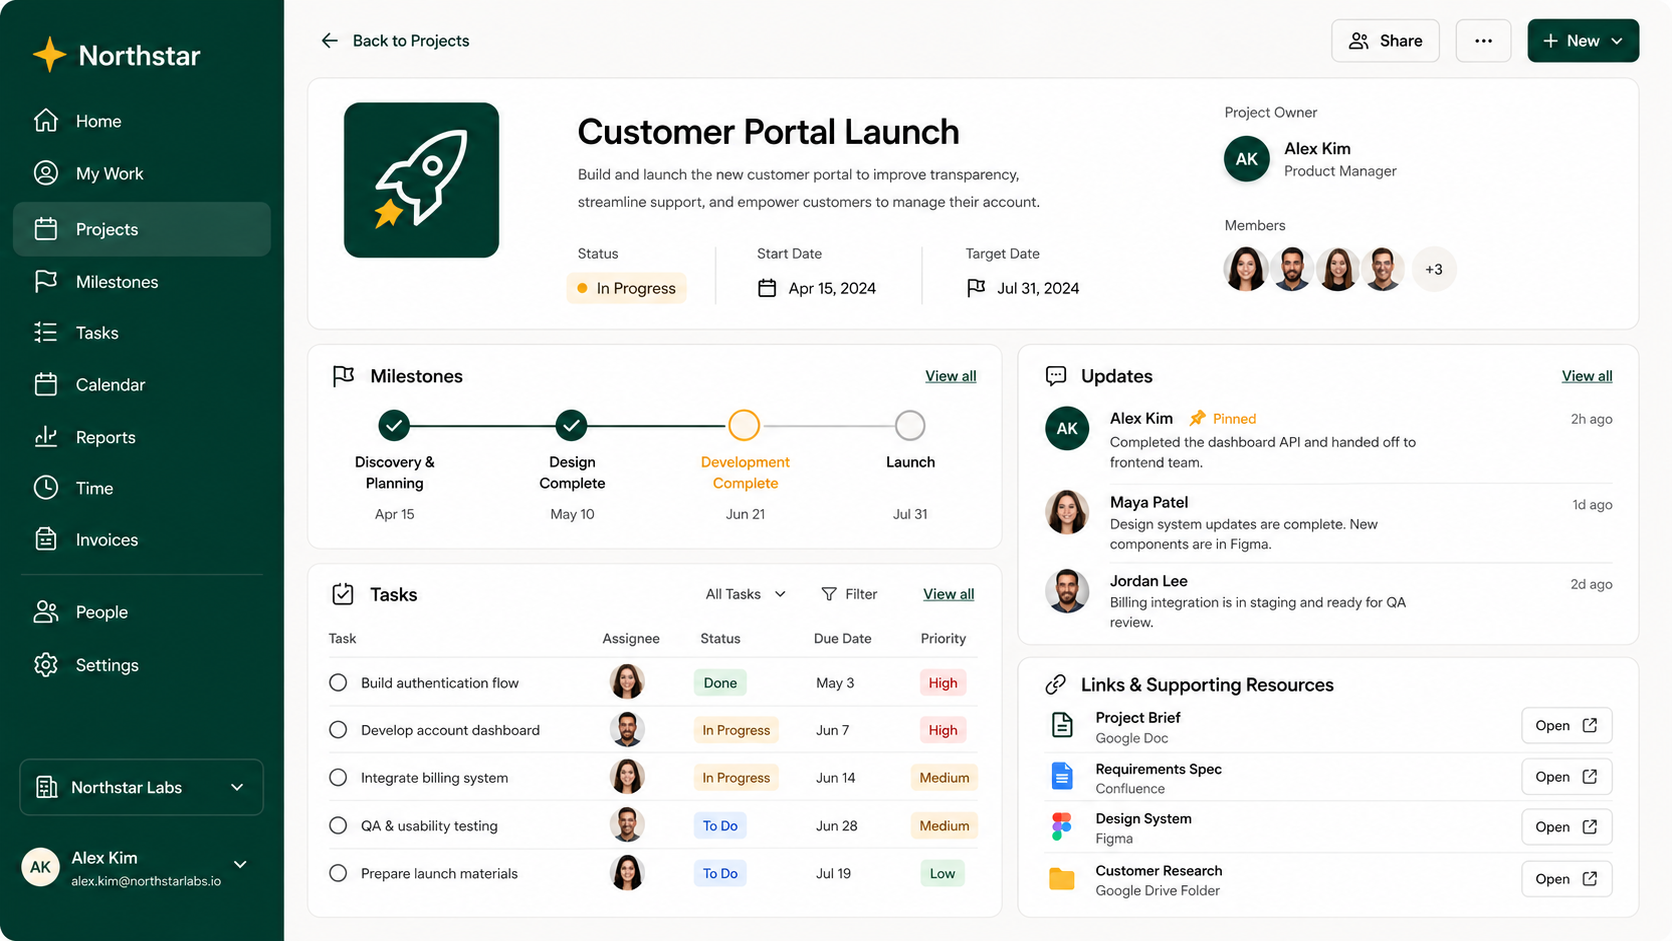
Every project can contain:
A project name
Description
Project owner
Members
Status
Start date
Target date
Milestones
Tasks
Updates
Links and supporting resources
Create a project
To create a project:
Select Projects.
Select New project.
Enter the project details.
Select Create project.
Only the project name is required.
You can add the remaining information later.
Project owners
Every active project should have one owner.
The owner is responsible for keeping the project's information and status up to date.
The project owner doesn't necessarily need to manage every task within the project.
We recommend assigning one project owner rather than several. This makes responsibility for project-level communication clear.
Project statuses
Status | Meaning |
|---|---|
Planned | The project has been agreed but work hasn't started |
On track | The project is expected to achieve its goal |
At risk | There is a meaningful risk to the goal or target date |
Off track | Intervention or replanning is required |
Completed | The project has achieved its goal or has been formally closed |
Cancelled | The organisation has decided not to continue the project |
Write a status update
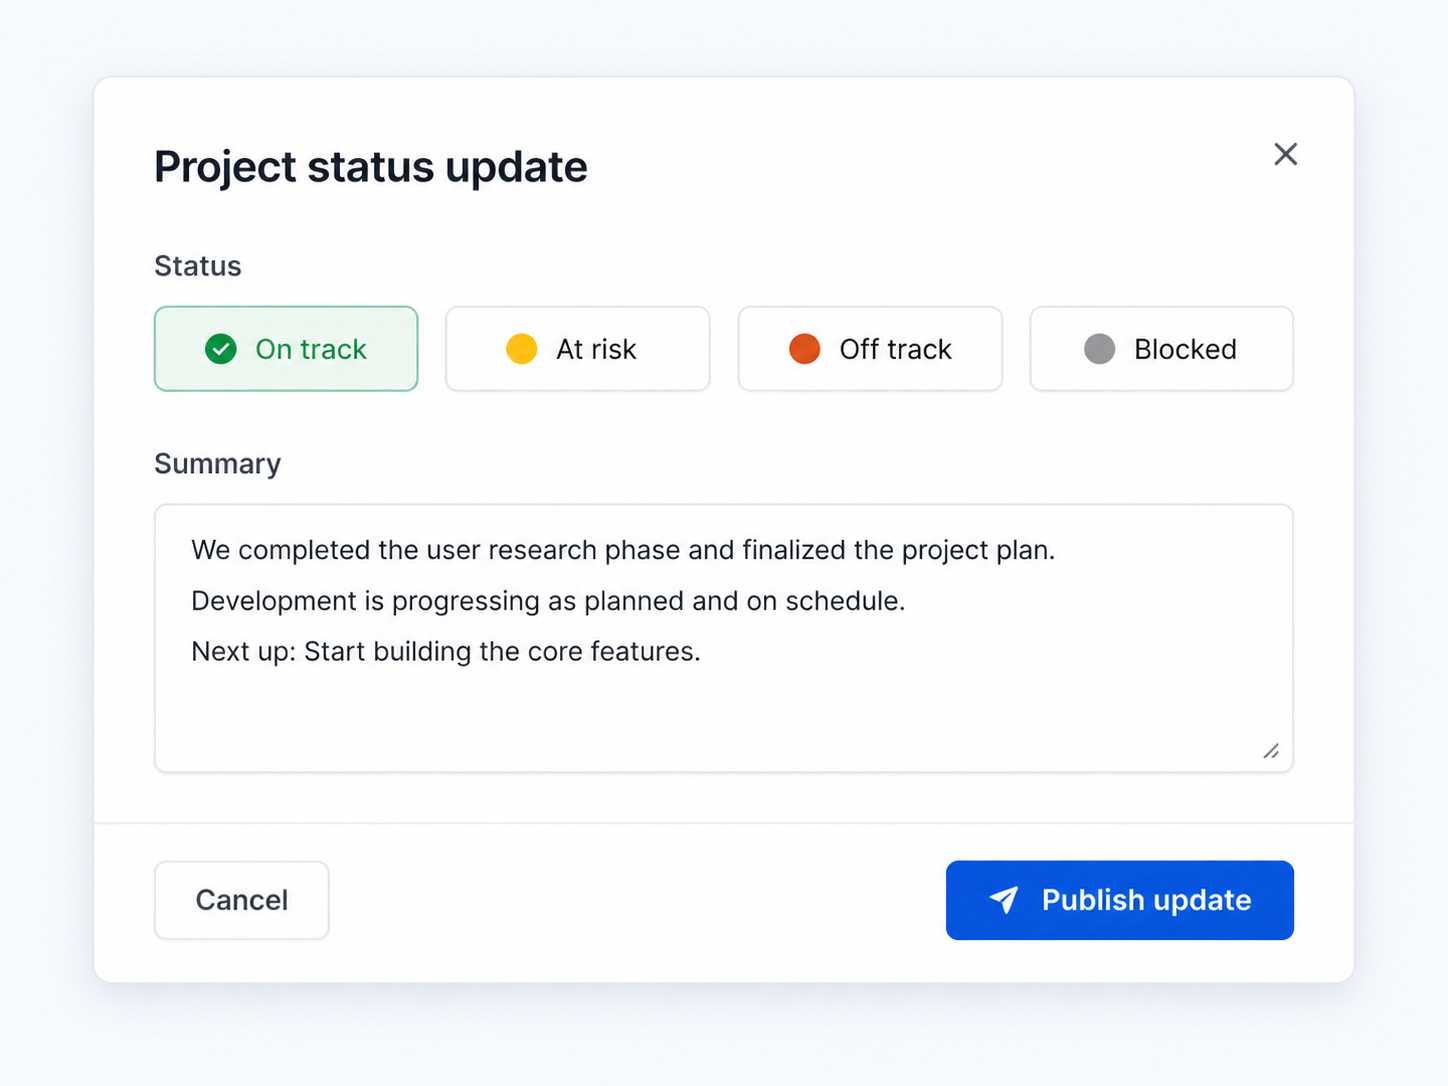
A useful update normally answers three questions:
What changed?
What happens next?
Is anything blocking progress?
For example:
Customer testing completed with 14 participants this week. Two accessibility issues need to be resolved before launch. Engineering expects both fixes to be completed by Friday. The project remains on track for the 30 September launch.
Organise work with milestones
Use milestones to group work around significant outcomes or dates.
For example:
Website redesign
Research complete
Design approved
Development complete
Website launched
Customer migration
Migration tooling ready
Pilot customers migrated
First 50% migrated
Migration completed
Change a project's target date
To change a project's target date:
Open the project.
Select the current target date.
Choose the new date.
Select Save.
Changing the target date does not automatically change the dates of individual milestones or tasks.
Review them after moving the project date.
Archive a project
To archive a project:
Open the project.
Select the ••• menu.
Select Archive project.
Confirm the action.
Archived projects remain searchable.